Recore Chainplate area
A recent moisture survey indicated high moisture content surrounding port and starbord chain plates. Sitting inside the boat on a very rainy day confirms the slow leak that caused this. Bulkheads were also checked in these areas and are good (phew). Recoring deck is easy - replacing bulkheads much more difficult. This project to start week of May 18.
Areas in red identified with moisture meter - will be fixed along with chainplate areas
Since recoring has to happen anyway it was time to address all remaining wet areas on the deck. In addition to those found with meter the stbd genoa track revealed a final wet area extending to winch when rebedding the track.
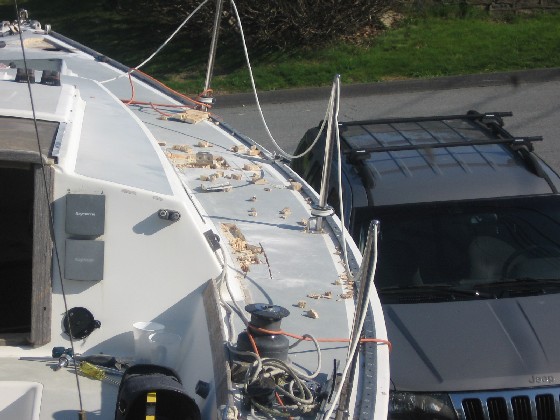
Core removed Stbd - three areas
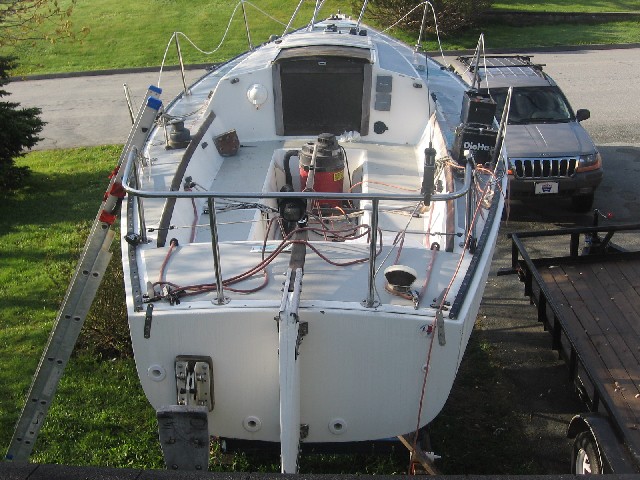
All areas glassed and ready for fairing. This pic shows more what is missing - a lot of hardware!
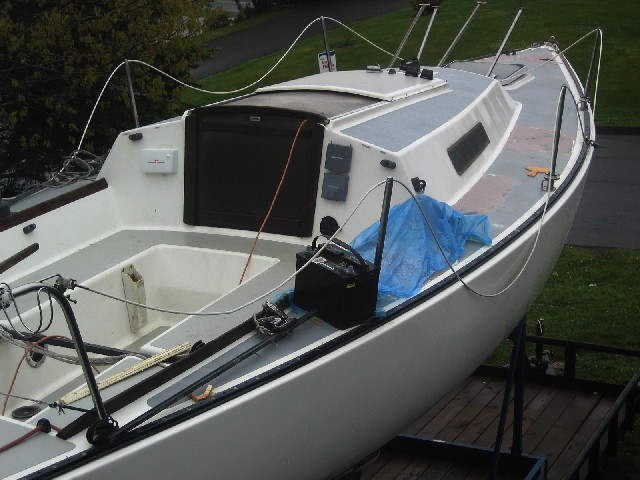
May 28 - Filler in place. Now applying skim coats
From the above pictures a pretty good idea of affected areas and process can be gathered. Process is the same as the recoring around the stanchions that took place last year. The challenges this time are the number of areas (six) currently under work (time consuming) and the features at three of these sites. The "features" are a 3 inch hole forward for the dorade and chainplate holes for the side decks. How to fair and smooth and glass the entire surface without filling these holes and dumping a lot of glass in the boat. In hindsight for the dorade I should have glassed over entire area and then cut out a new hole - but there was already a hole in the deck and lower skin.
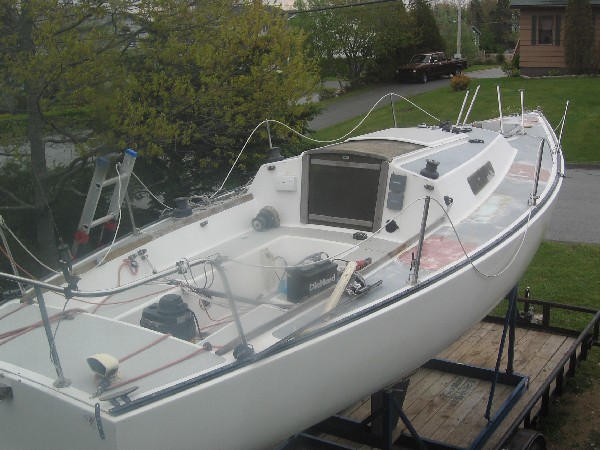
Final leveling and skim coats
Above picture shows some progress from previous pic. The stbd track area is ready for primer as is port area under pulpit aft foot. All other areas have final leveling coat applied and are ready for sanding and final skim coat. Interestingly the colour of the patches varies as the resin used has a blue tinge which shows when using high density micro balloons (white) and is the usual brown/tan colour when using a sandable filler for final skim coats. Painting tomorrow if all goes well.
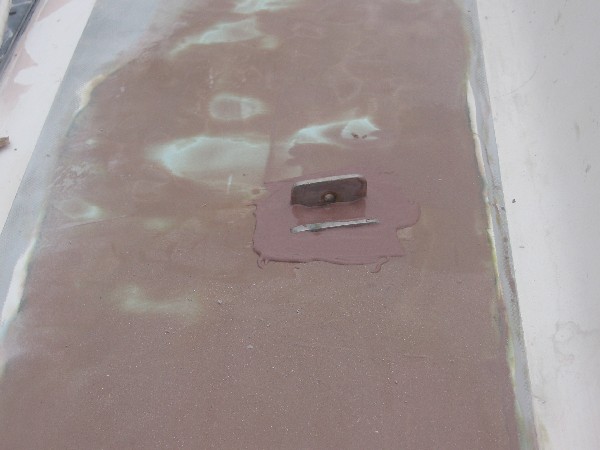
To specifically answer the chainplates in or out question I have posted the picture above and below. I initially left the chainplates in place during the core replacement phase. Core surrounded the chainplates but stopped a bit over one inch away on all sides. Glass cloth and resin was layered in and around the chainplates to build that area up to same thickness as the surrounding area. Larger voids were also filled with high density filler thickened resin. Once the area was ready for final fairing coats I knocked the chainplates down below the surface using a hammer and a block of wood. This made the leveling and fairing of surrounding areas much simpler. When the entire area was even and ready for primer I pushed the chainplates back up and above the surface as shown above and then surrounded with thickened resin using a sandable filler. The picture below shows the next step which was to knock the chainplates back below the surface to make the area immediately surrounding the chainplates level with the rest of the area. A final sanding and this chainplate area is ready for priming and painting with Interlux Interdeck.
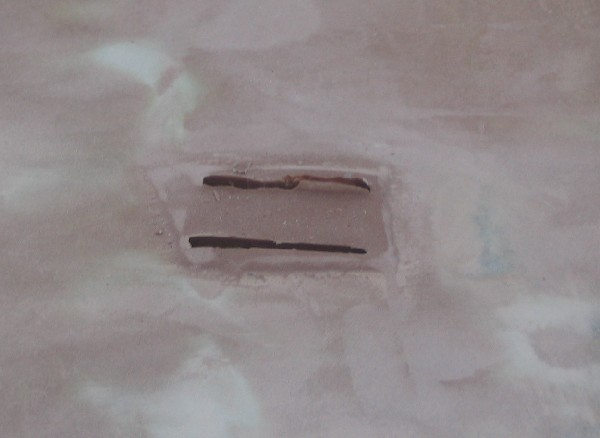
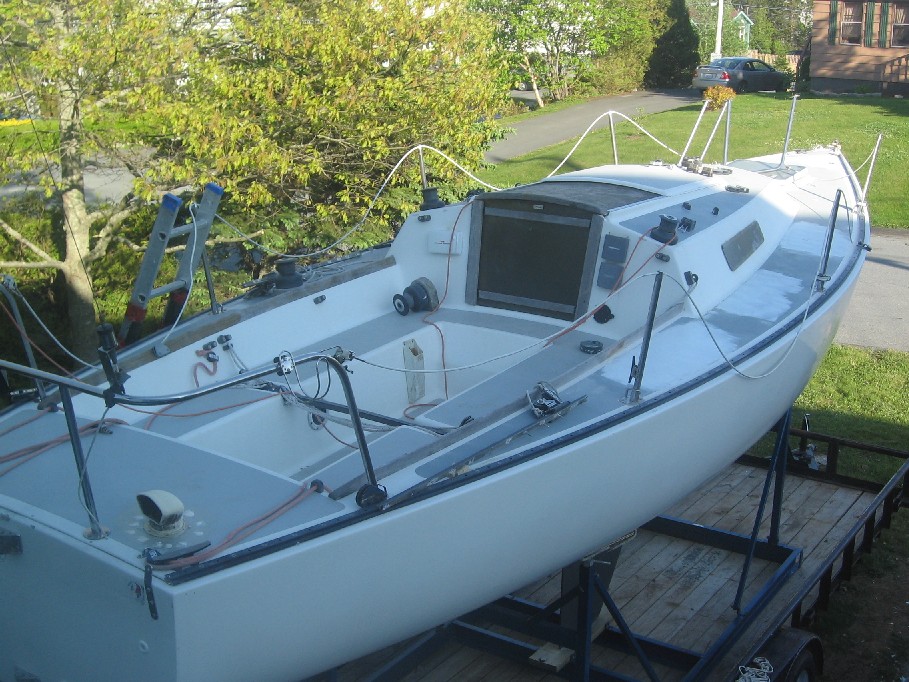
Recore complete - primed and waiting Interdeck application
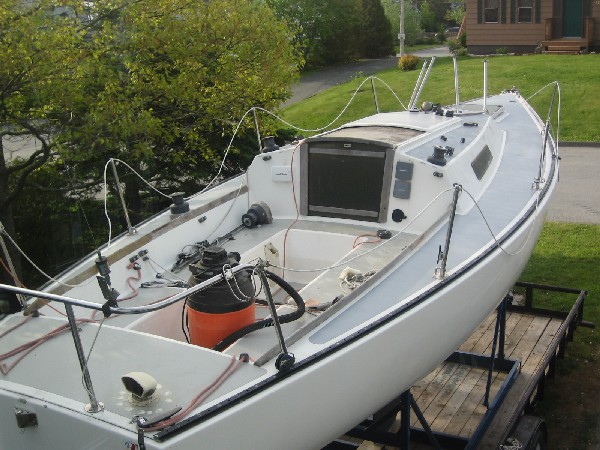
Chainplate recore complete. Decks painted and ready for hardware installation
The picture above shows the different approach taken with the aft dorade and the picture below after completion. With the bow dorade it was noted that the wet area extended only about 2 inches surrounding the dorade. As the first inch immediately surrounding the dorade was cored with resin, cloth and filler only a simpler approach was possible aft. The aft dorade and ring was removed and a flat bladed screwdriver used to dig out as much core as possible from the existing opening. Then 1/2 inch holes were drilled in a ring around the dorade as seen above. A nail was used to dig out all core surrounding these holes and the extending to the area immediately surrounding the opening that we dug out previously with screw driver. Then the Ring was repositioned with cellophane food wrap as a release agent and any gaps below taped over (important). Void was filled from the holes using epoxy thickened with high density filler. This was followed by sanding and repainting the aft deck. Much much simpler process than that used forward.
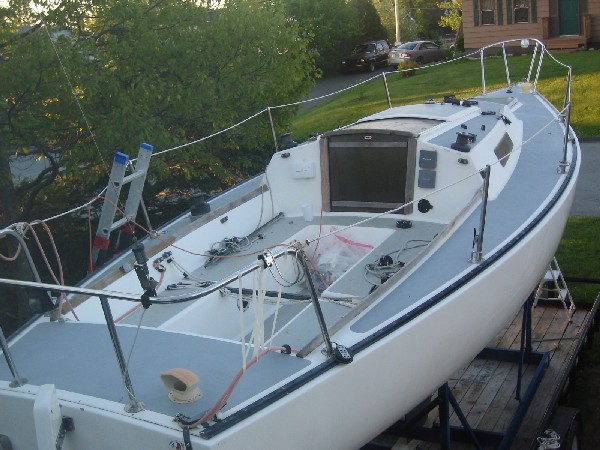
Aft and side decks repainted. Bow pulpit, foredeck cleat and cabintop tracks installed