
Recoring around Stanchion Bases
Nut Case was purchased with the knowledge that port and starbord sides had issues surrounding the stanchion bases. Water intrusion and deck rot was suspected. Below is a picture of the area on the day delivery was taken of the boat. Pilot holes were drilled and revealed that the water in the core extended only a few inches each side of the stanchions. The fix was to remove the old core, replace with new material and fair and paint the area. The series of pictures below demonstrates the process.

Surface of deck is cracked. Water oozes out.

Stanchion removed and a hatch pattern cut to facilitate removal of old core. Cuts using a 4.5 inch angle grinder
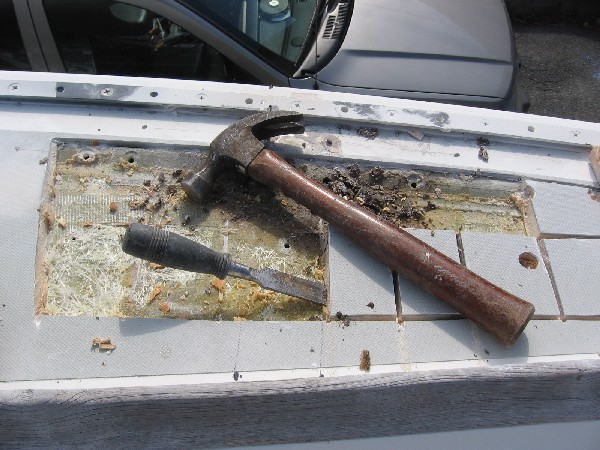
Removal of old core. Using wood chisel and hammer.
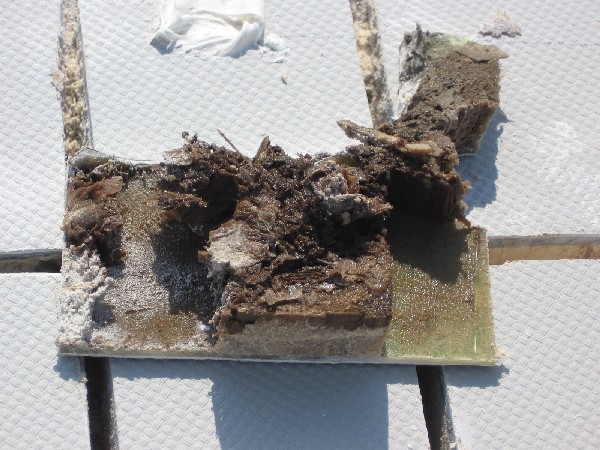
This is what rot looks like in a deck

Old core removed, edges tapered and ready for cloth, mat, cloth and core material
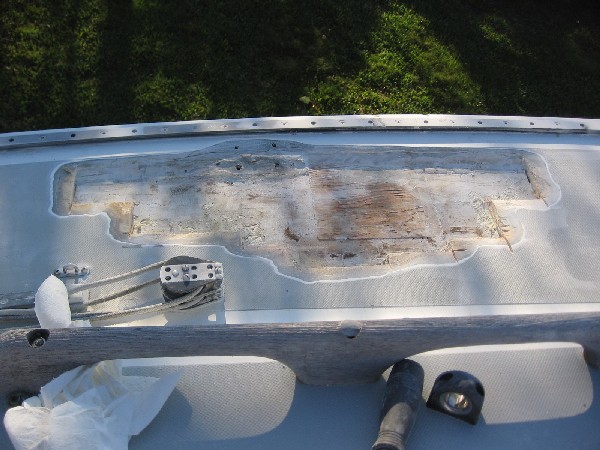
Port forward stanchion area - core removed and edges beveled - ready for recore.
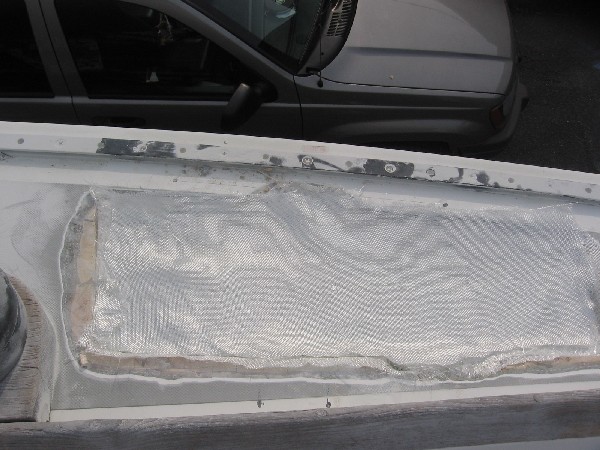
Cloth in place and ready for core material.
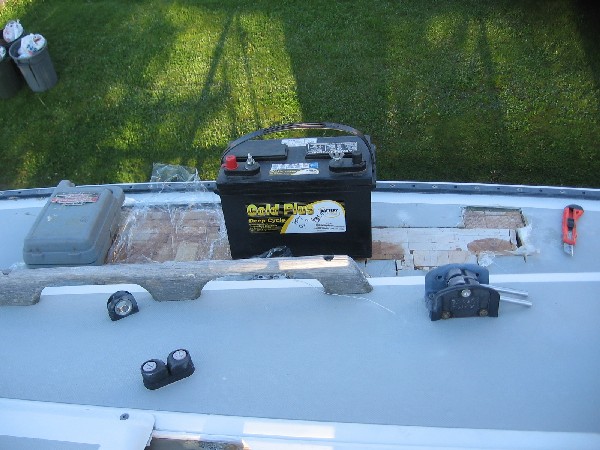
Stbd forward stanchion area. Weighting down the core material while resin cures. Plastic food wrap will not adhere to epoxy and prevents weights from adhering to core material.
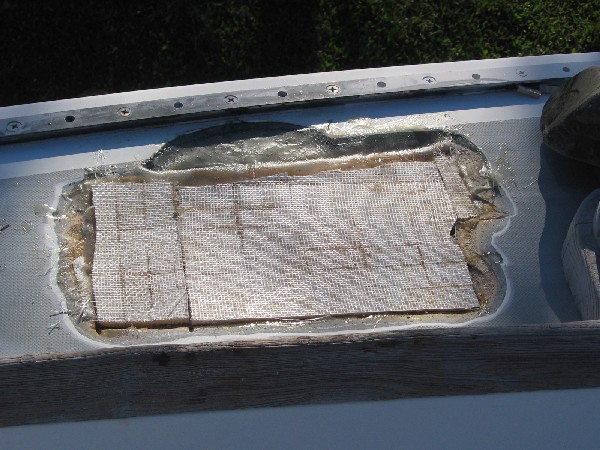
Core Material Epoxied in place in the second area.
Below - after grinding core material. Ready for next layers of cloth


Materials to use. East System Epoxy resin and hardener, West 406 adhesive filler, glass cloth, end grain balsa core
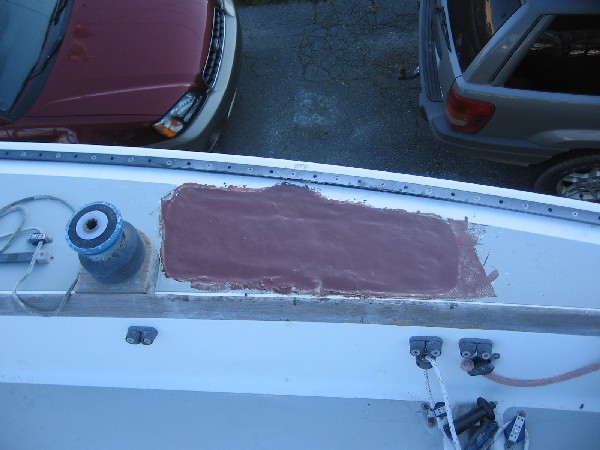
First leveling coat applied. East System epoxy with West 407 sandable filler
The Process: Remove old core as shown above. Saturate with resin and then insert several layers of cloth. Using a paint brush apply a liberal amount of resin to saturate all cloth. Insert precut core sections and weight with a heavy object to ensure bond with the underlying resin & cloth. 24 hours later grind out any air pockets and prepare for more layers of cloth to build the surface. Repeat if still low spots exist. Then use a sandable filler such as West 407 with resin to apply the first leveling coat. This will take the surface up to approximately the surface level of surrounding deck. As pictured below then check for high spots using a straight edge and grind or sand down. Finally apply a fairing coat, sand and if necessary (usually it is) a second fairing coat. Generally the consistency of the fairing coat is thicker than that of the leveling coats by adding more sandable filler. Once cured and sanded is ready for primer coat and final paint. This process can be done with either Polyester resin or Epoxy. Epoxy has better bonding characteristics to old surfaces while Polyester is significantly more affordable and has a far faster cure time.
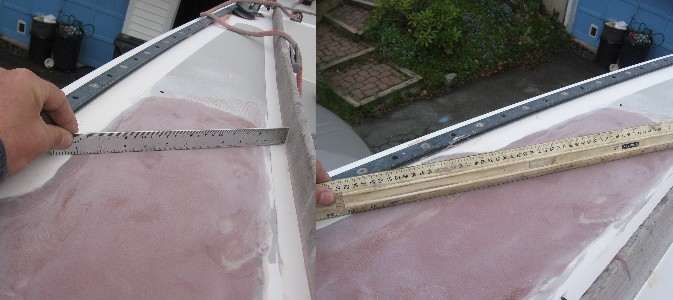
Checking for high spots
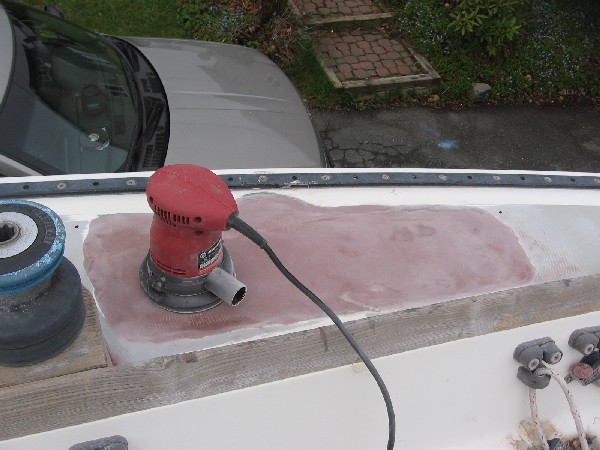
Sanding the high spots using 80 grit and Random Orbital Sander
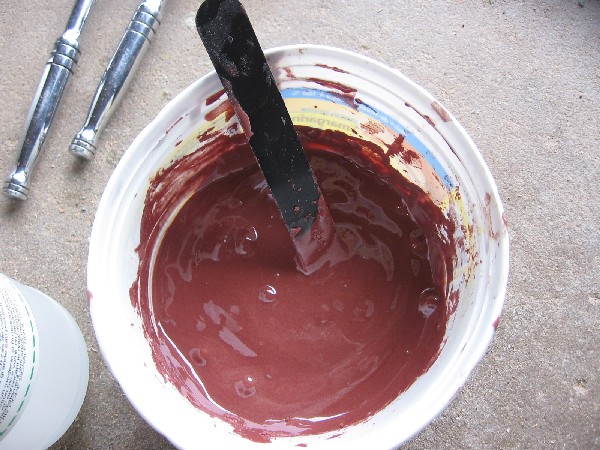
Epoxy mixed with Sandable Filler for skim coat
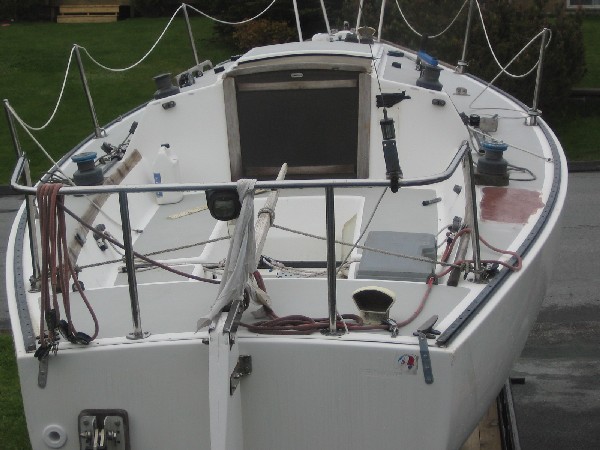
From astern - after first skim coat applied

Port aft - ready for primer & paint
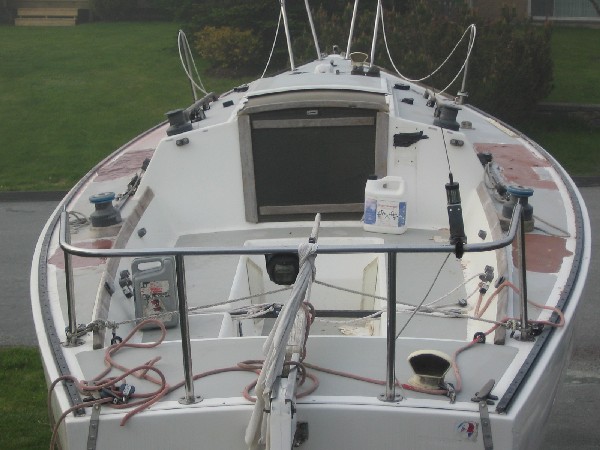
All four sections now recored and fairing coats applied
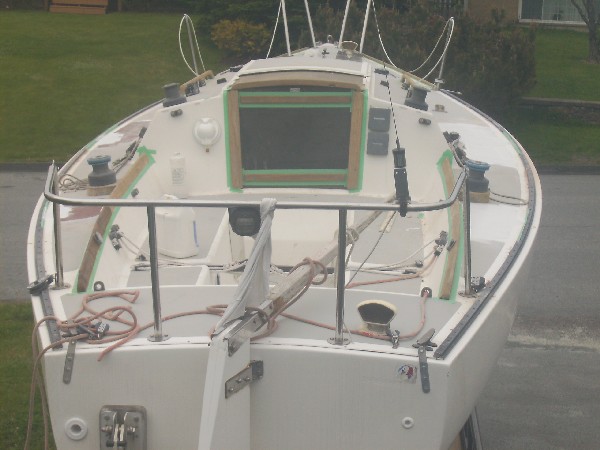
Fairing Complete. Stbd sections primed with Interlux Pre-Cote. Instruments and compass installed.
Exterior teak sanded and taped
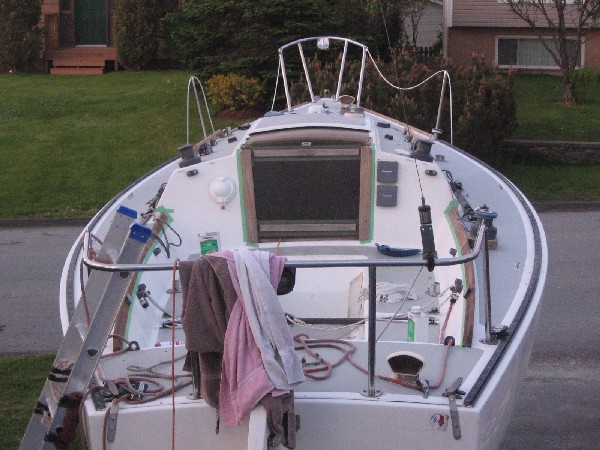
Painted with Interlux Interdeck grey. Entire side deck non skid painted for consistency.
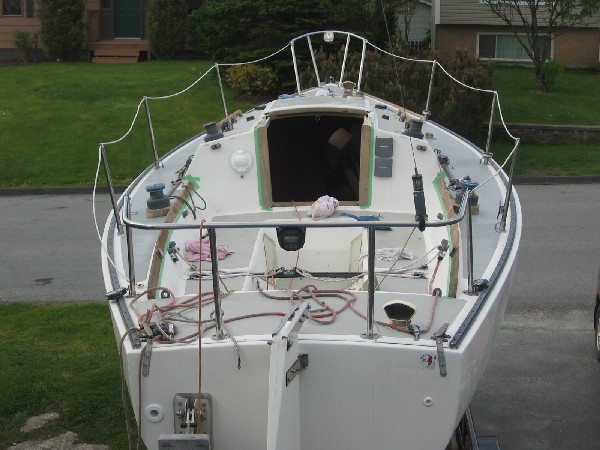
Job Complete with stanchions rebedded. Forgot what a pain that was!