Installing a Garboard Drain
The first time I heard of a "Garboard Drain" two questions immediately sprung to mind. 1. What is a Garboard Drain? and 2. Why would I want one?
A Garboard Drain is a drain plug installed in a low point of your bilge that allows water to drain when the boat is out of the water. This answers the first question. The second is a bit less straight forward. To me a bathtub has a drain plug - a boat does not. Our friends who are very anal about such things first watched other boats with this, did a lot of research and then installed a drain on their boat while we watched with skepticism. They installed with 3M 5200 and then faired using thickened West epoxy such that there was a very smooth surface. I was still not sold but when they beat us regularly in races began to believe the garboard drain did not affect performance. Since it never leaked in any of the installations I knew of that worry also was alleviated.
The big question was why bother? Well for a number of reasons. Sometimes in the winter snow accumulates on deck and water finds its way in because of the snow, thru the companionway, by snow blocking scuppers, or the many devious other ways water gets into a boat that is unattended for 5 months in off season. Such water in a boat can harm bulkheads, cabin sole and many other systems. Other benefits are when washing out the bilge or interior. A natural drain for such water.
Our friends never had any issues prior to installing drain with water intrusion but did this for peace of mind. Several other boats in our marina suffered internal damage to cabin sole and other areas from water entering and freezing and due to this installed drains.
How to install
Typically the drain is installed from the exterior with the flange on the outside of the hull. Those worried about water flow can fair the flange to reduce water flow interruption and many just leave the bronze flange exposed.

In the picture above is the 1 inch flush drain on left and 1/2 inch drain on right
For the J/27 I had two main concerns. I do not like holes in cored areas of the hull and it is a racing boat and can not afford any water flow disturbance. For the first concern I looked in the bilge to see where the coring ended. The coring ends a couple inches above the bilge meaning the sump area is not cored. For the second concern I decided to install with the flange on the inside and each Spring would fair over the opening resulting in no disturbance of water flow. I chose the 1/2 inch Perko bronze Garboard Drain so that I could remove and install plug with a standard wrench.

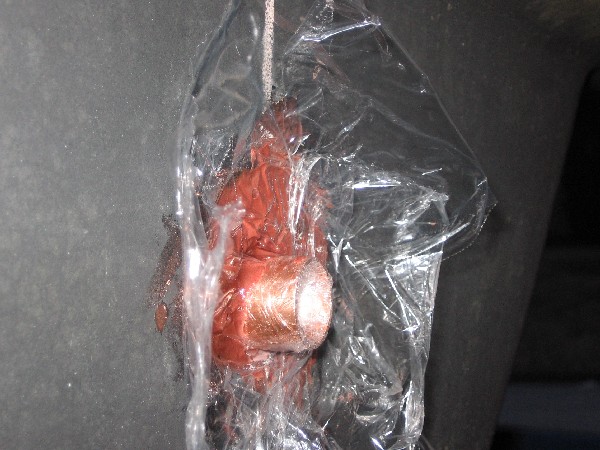
Hole drilled and spacer pipe in place while surrounding epoxy cures
The first step was to determine the location of the drain. I chose 3 inches forward of window frame and 4 inches below the hull. This places drain approx 2 inches above bottom of bilge and leaves plenty of working room. The hole was overdrilled by 1/4 inch (not really necessary) and then lined with thickened epoxy. In the above picture I used a small piece of copper pipe the same diameter as the drain and then epoxied around it to create the proper opening for the Perko drain. The pipe was wrapped in cellophane wrap for removal once the epoxy cures. Cellophane wrap was also used to prevent the thickened epoxy from sagging while waiting for it to cure. Sometimes this works when applying to vertical surfaces.

Pipe and cellophane wrap removed. Ready for sanding.

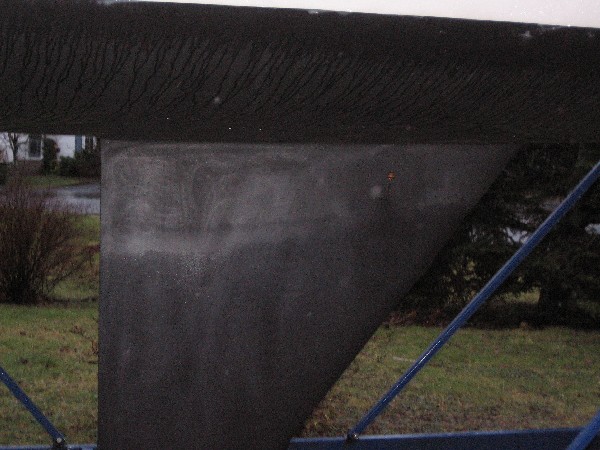
Faired, sanded and painted.
The final steps are to clean and sand interior and then use 3M 5200 to fix the Perko drain in place. Inside the bilge the flange will be further secured in place using epoxy and cloth.
What have I gained from all this? Peace of mind.

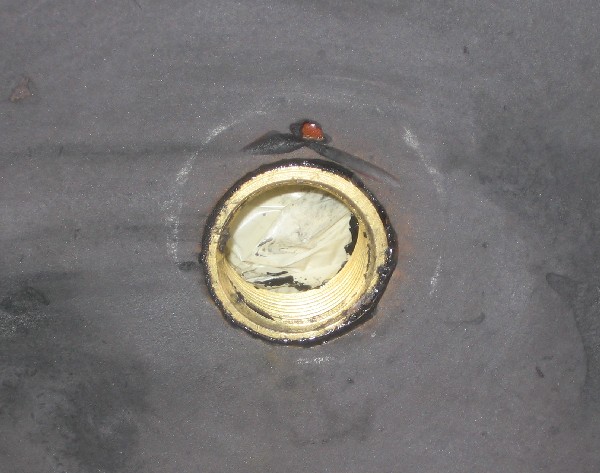
Garbord drain has functioned all winter. In the above photo the drain itself has been installed from the inside and sealed with 3M 5200 adhesive sealant. Note that the drain does not extend beyond the flush level of the keel stub surface.
Once the sealant cured the drain was further secured inside the bilge with epoxy and wetted cloth. At that point the plug was inserted and tightened from the inside of the boat and the outer hole filled and faired with a underwater fairing compound. There is no bulge or other disturbance on the exterior of the keel.
Next fall the fairing compound will be punched out and the plug removed to allow the drain to function over the winter.